How to Make a Riveted Maille Pierce Punch
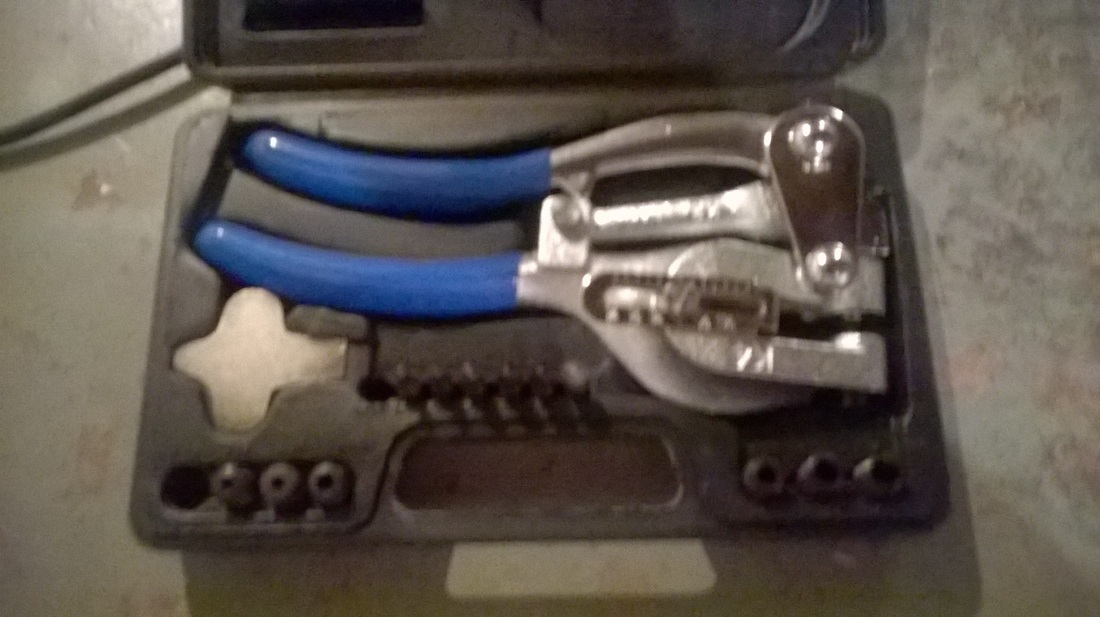
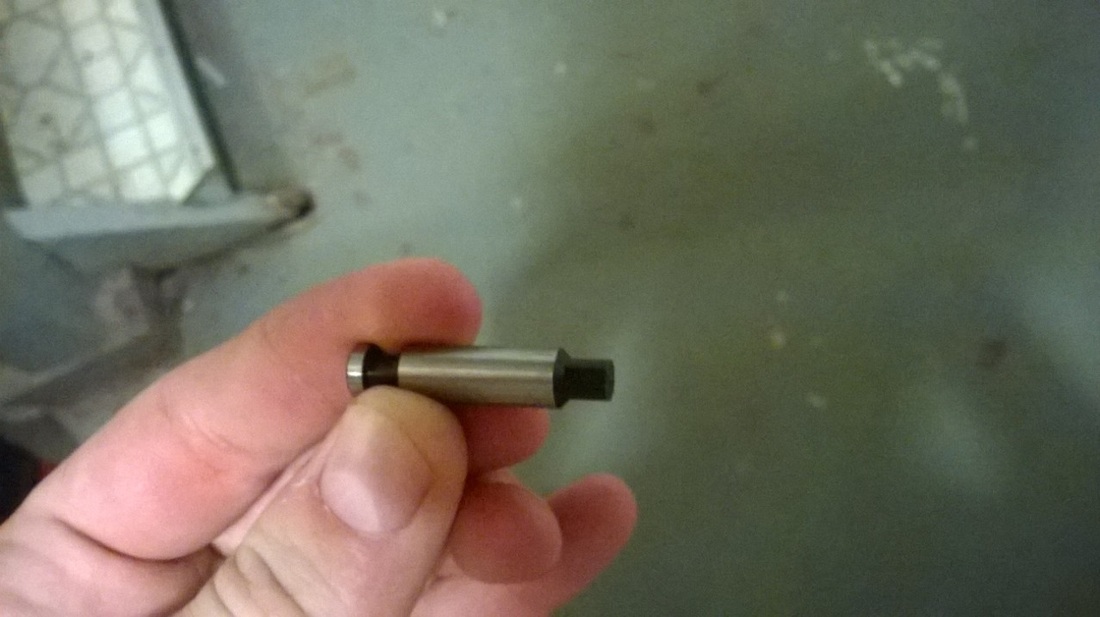
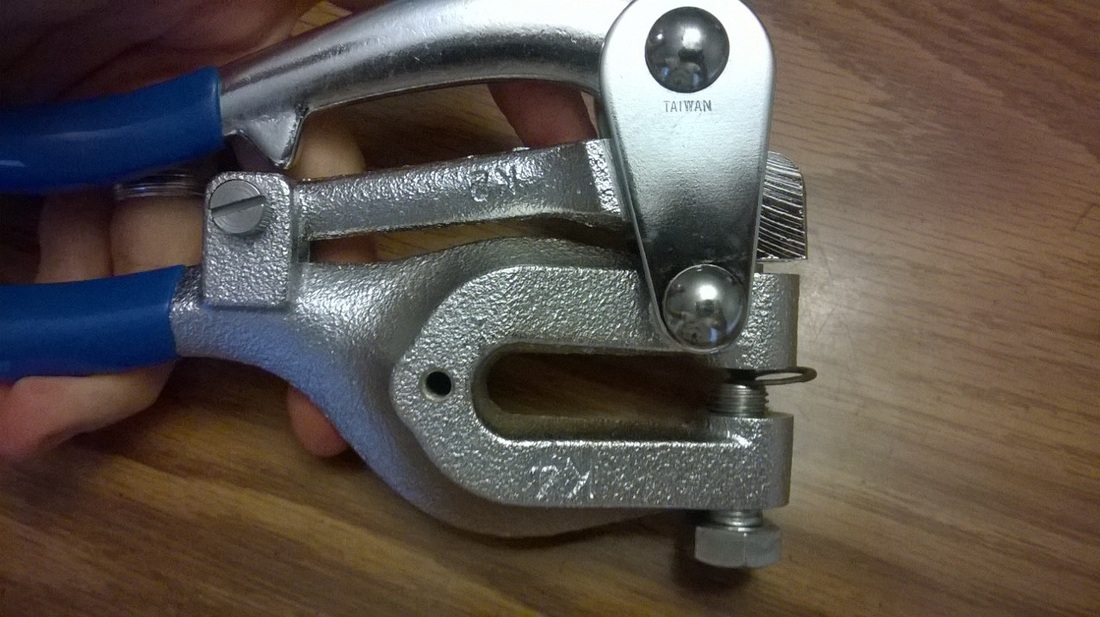
My pierce punch is a Neiko sheet metal punch from Amazon. I paid $30.00 and got free shipping from the place I ordered from. The tool comes with 7 punches and dies that are meant to create clean holes in sheet metal up to 16 GA. The tool is a knock-off of the roper-Whitney No. 5 Jr. style punch and has the exact same dimensions and punches. You can buy replacement punches from Roper-Whitney here: http://www.roperwhitney.com/downloads/punch_price_book.pdf.
The punch is meant to make clean, round holes in sheet metal much in the way a paper punch makes a clean round hole in paper. The punch also produces a clean, round blank. Since this is not ideal for riveted maille, you will need to modify the punch and make your own die. This is easily done with a dremel tool by using a grinding bit and a bit to bore a hole in your homemade die.
The punch is meant to make clean, round holes in sheet metal much in the way a paper punch makes a clean round hole in paper. The punch also produces a clean, round blank. Since this is not ideal for riveted maille, you will need to modify the punch and make your own die. This is easily done with a dremel tool by using a grinding bit and a bit to bore a hole in your homemade die.
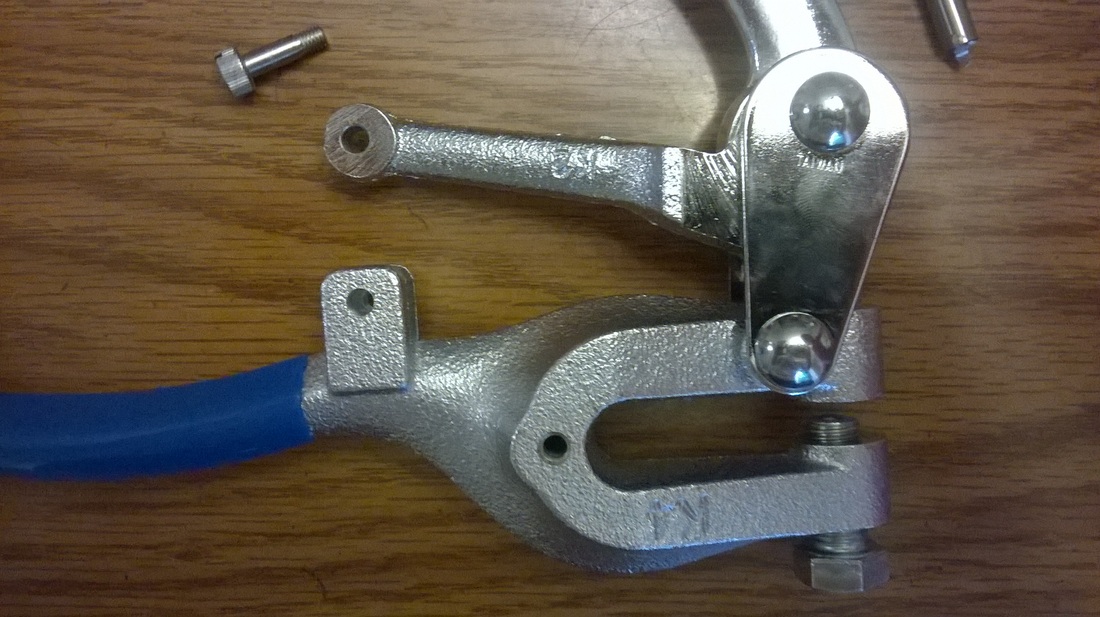
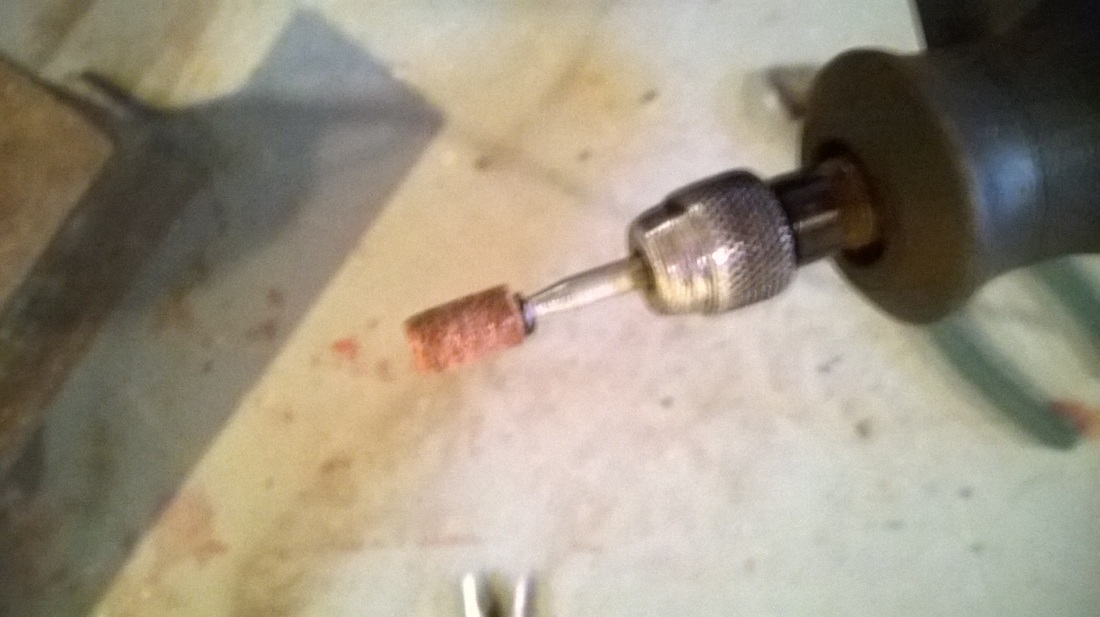
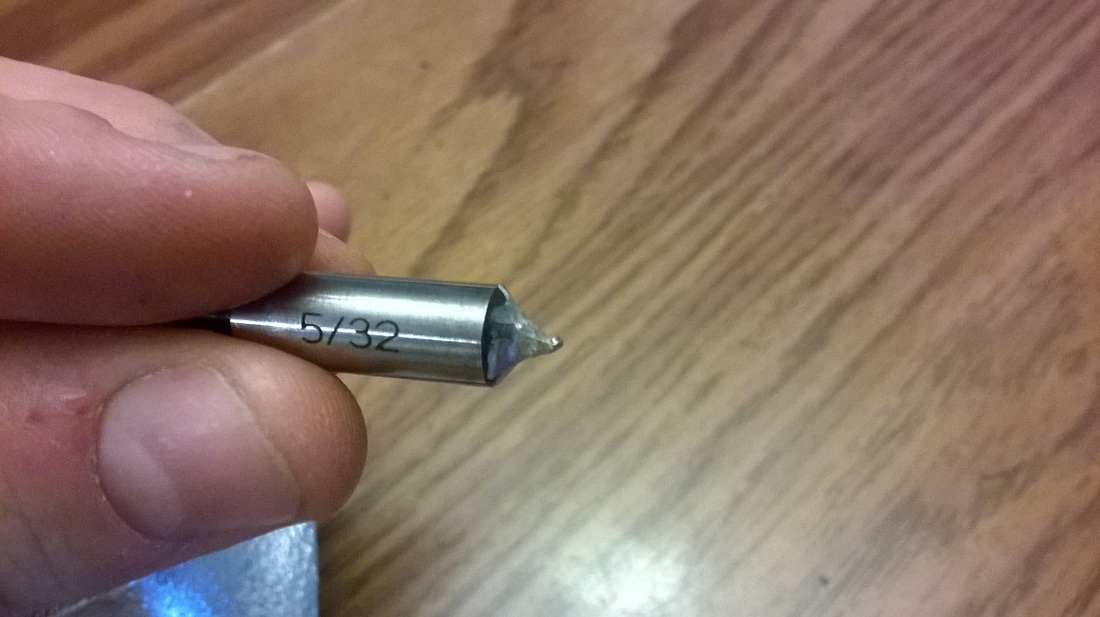
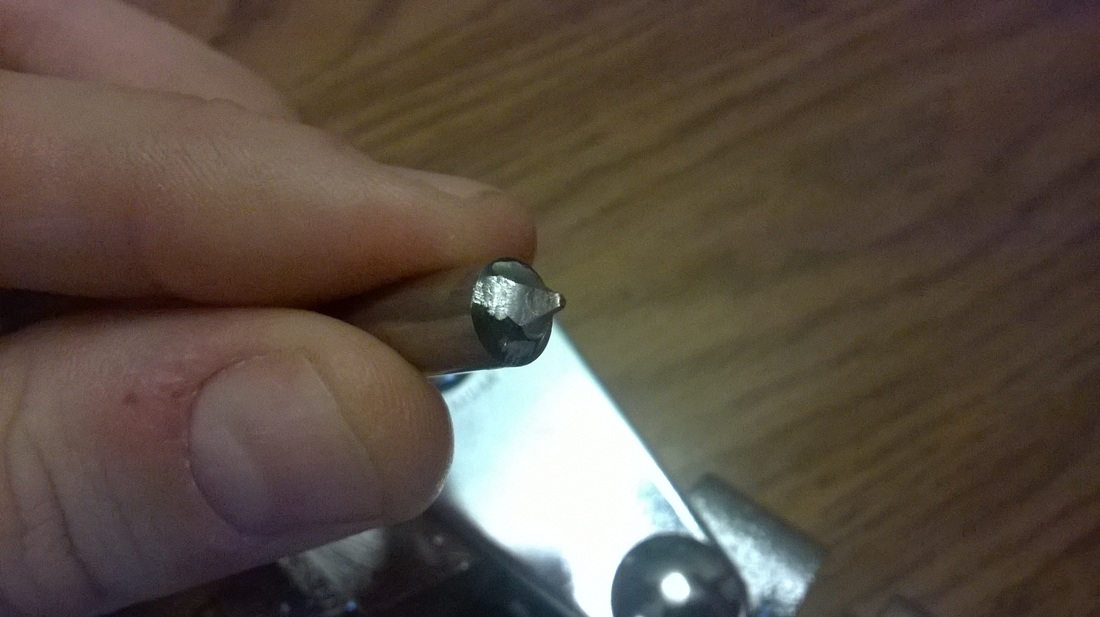
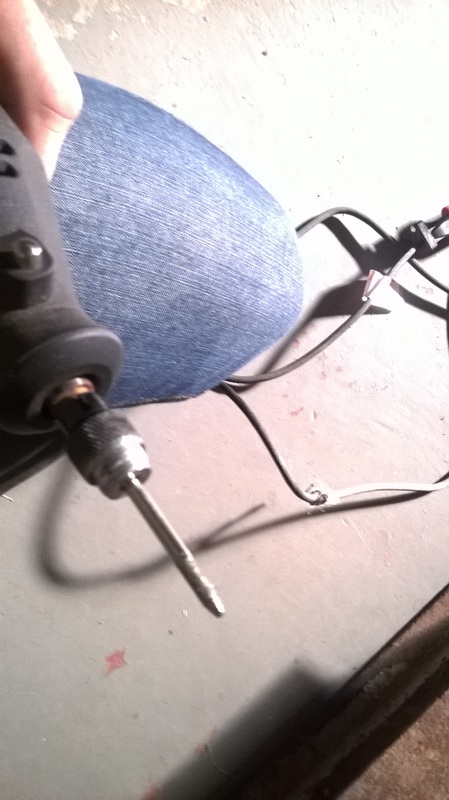
I used a dremel tool and grinding bit to grind a punch down to a suitable shape. In this case, you want something that is thin and that tapers down to a relatively fine point. The point is key, it enables the punch to slice into the ring without deforming the overlap. When grinding the punch down, wear protective eyewear, ear protection, and a pair of thick gloves. I would advise you to go slowly and if it is your first punch, to stop and try it out frequently to test its size and shape. It is better to ruin a few rings with a poorly shaped punch than to ruin a whole punch.

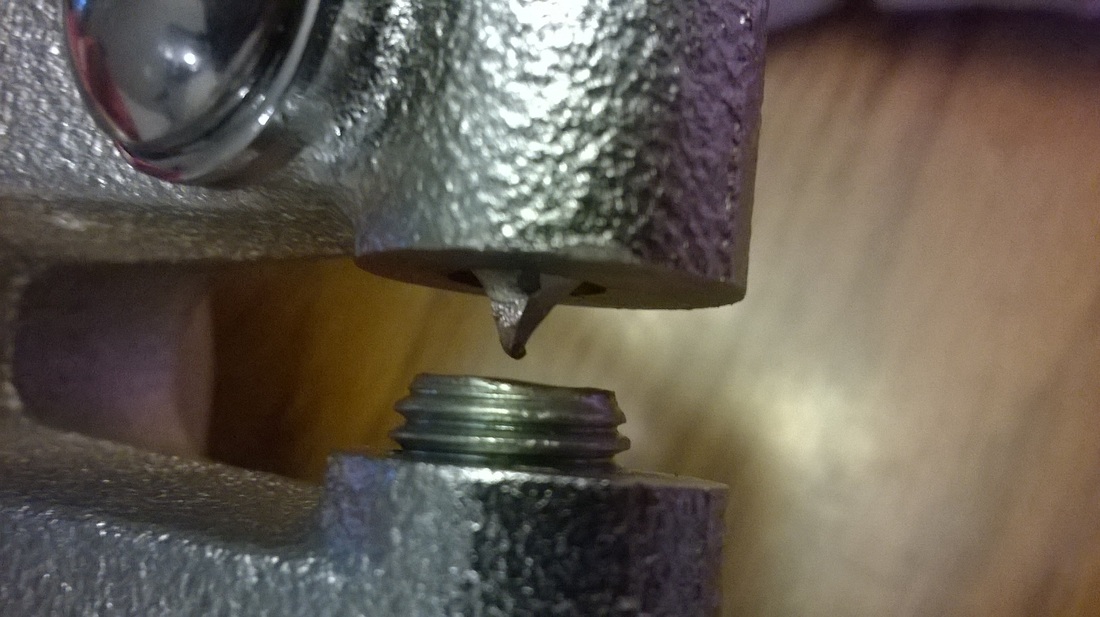
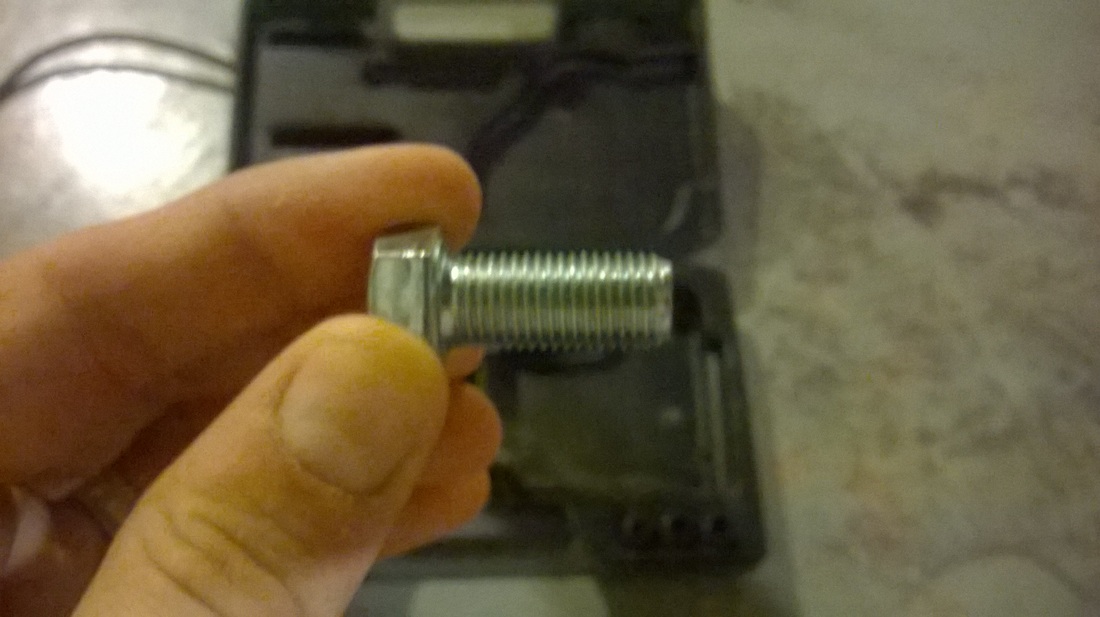
You will also need to customize the die. The standard dies are made to allow a clean blank to be punched, much like a paper punch will spit out of little piece of paper. The tool requires a 7/16” fine threaded bolt. You will then need to grind down the face of the bolt to give it a flat, smooth surface. Once you have this accomplished, you can use a diamond tipped dremel bit to bore a hole into the top of the bolt. This hole should be deep and only slightly larger than the size of the punch. The punch should be able to slide down into the die without scraping the sides or bottoming out. If it does either of these things, you will damage or destroy your punch.
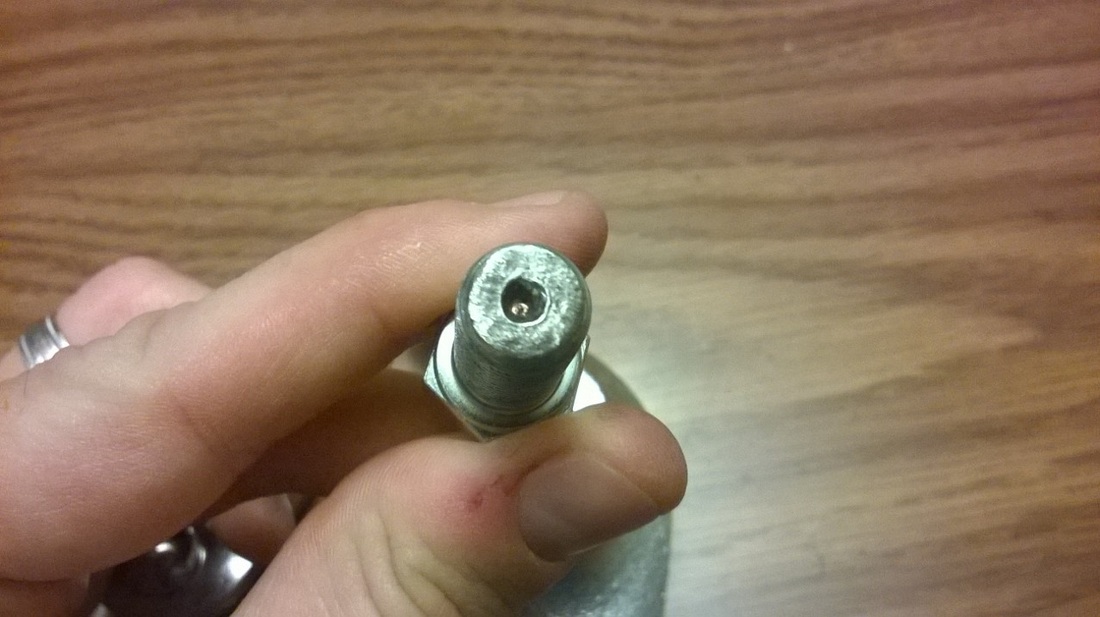
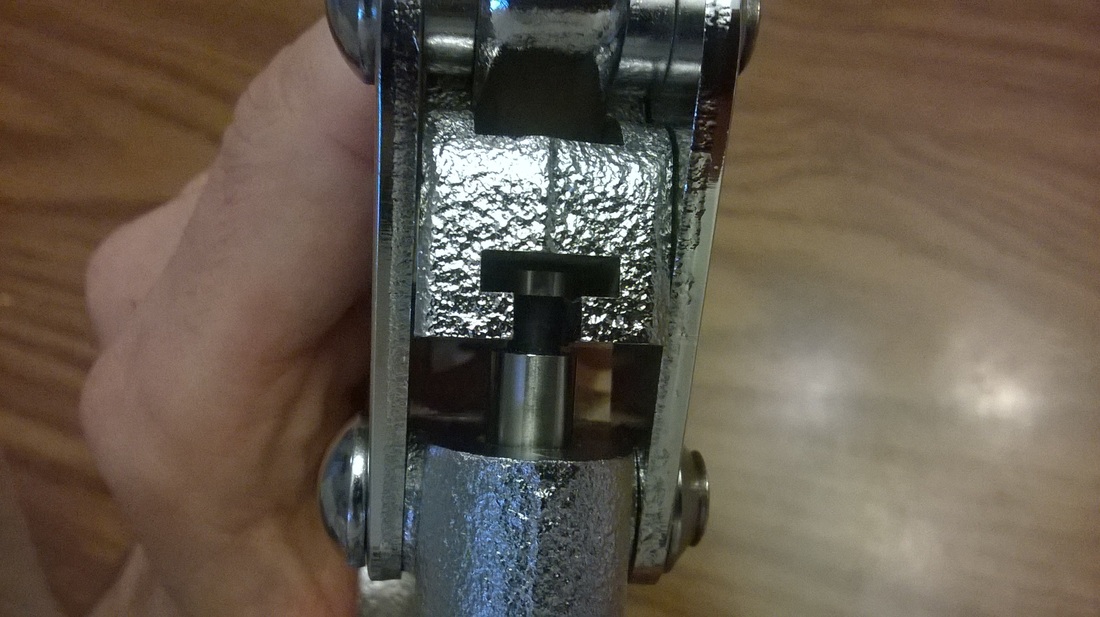
If the die’s diameter is too small, the punch will not push in far enough to pierce the rings. Another problem is that the ring will smush into the die and get stuck. If the die is too shallow, the bit will bottom out without allowing the punch to pierce the metal and this will also likely bend the die. If the die is too big, you will distort the ring as the bit pushes the ring into the die and the ring will not be usable. Ideally, the die will be the same diameter all the way to the bottom and will maintain the ring’s shape without getting in the way of the punch. Think of it as a balancing act between accommodating the punch and being small enough that the ring won’t get bent or distorted in the process.
Fortunately, this tool does not require any further grinding or tooling. The punch itself is designed to punch metal with ease and is built mechanically to allow this with minimal effort. Therefore, if the punch and die are appropriately sized, you will be ready to punch away. However, because the punch is designed to be a hole punch and not a pierce punch, the tool does have some drawbacks for punching rings.
The first problem is that the mechanism makes it difficult to eye exactly where you are going to be piercing the ring. The tool was made to punch sheet metal and has a built in guide to allow punching at the proper depth. But since the rings are so small, that guide bar is useless. In essence, you need to punch the rings using your best judgment of where the punch will go based on prior experience and based on the shape of that specific ring


 A punched ring using the above process.
What I’ve found, is that it is best to score the ring slightly with the bolt loosened away from the punch. Once you are sure you have the punch lined up properly, you can tighten the bolt upward toward the punch, feel for the indentation of where you scored previously and punch the ring. You will then likely need to loosen the bolt to allow clearance for the punched ring to be removed.
As you can imagine, this process has a bit of a learning curve. The tool I use has some pros and cons for punching rings – it is certainly not perfect, but I do like it.
As you can imagine, this process has a bit of a learning curve. The tool I use has some pros and cons for punching rings – it is certainly not perfect, but I do like it.
Pros:
1) biggest pro is that the tool required very little modification. Unlike other piercing punches depicted in other tutorials, there is no need to grind down the head of a set of pliers or bore multiple holes in the head of a set of pliers. All I needed to do was grind down a punch that came with the punch and grind down a die.
2) The punch comes with 7 bits so you can use multiple bits as backup bits. I also did not need to heat-treat the punch as it was already designed to be a punch and is appropriately treated. If you do need to order more punches, you can order them from Roper-Whitney in the exact size you want them. Since the tool is a knock off, it is easy to order replacement bits from Roper-Whitney without worrying about whether they’ll fit. You just need to file them down and use.
3) Another positive is that the tool is designed specifically to punch sheet metal. It already has all the mechanical punching power you would need to punch the rings. You won’t need to worry about having the strength to squeeze the pliers or that your tool isn’t sturdy enough. The tool was designed to do essentially what you’re asking it to do.
4) Finally, it allows for easy punching without having to hammer. Any step that avoids using a hammer is a plus for me. I don’t want to be in the basement away from my family all day and I certainly can’t do any hammering if my daughter is asleep. With this tool, I only have one step that requires hammering, which is always a good thing.
Cons:
1) As for the cons, the minimal throat clearance makes it very difficult to line of the ring for punching. This also makes it difficult to leave the bolt in place as the bolt needs to be so high that it is difficult to remove a punched ring without fiddling with the die. This means that every ring will need to be set up manually. This is a huge annoyance and it does slow things down considerably.
2) Another downside is that the bits for the punch are not readily available in stores. Although it comes with 8 punches, only the first 4 or 5 are small enough to reasonably grind down. The rest are so thick as to not be worth it. Not having readily available replacements means that you need to order the replacement over the internet and pay shipping. It would be nice to be able to get just any drill bit and grind it down. Needing a specific type of bit is not ideal. Plus, the replacement bits cost about $7.00 each with a minimum order of $15.00, meaning you’re buying at least three bits at a time.
3) It doesn’t have the hand-forged look. Although this is slightly silly, I would like a punch that looks the part. I’m obviously using modern tools to accomplish this task and the purist in me wants to use a tool more accurate to the period.
In short, the punch gets the job done and does so admirably. It’s not perfect, but I’ve learned to work with it. It is my impression that no matter what your set-up, there will be some flaws. As I’ve said before, we are teaching ourselves a lost art. We are all separated by distance and it is difficult to find others who would have the expertise to instruct you and guide you through a problem. That being said, feel free to contact me if you have any questions or need a bit of guidance.
