How to Make Riveted Maille Setting Tongs
|
The key to making a pair of setting tongs is to find a sturdy pair of pliers with a large, wide set of jaws. Ideally, you want something with a long handle as well to get good leverage. I bought a set of 8” linesman pliers. They cost about $13.00 at a local Ace hardware. The pliers came with horizontal ridges on the jaws for increased grip and a pair of side cutters are built into them as well.
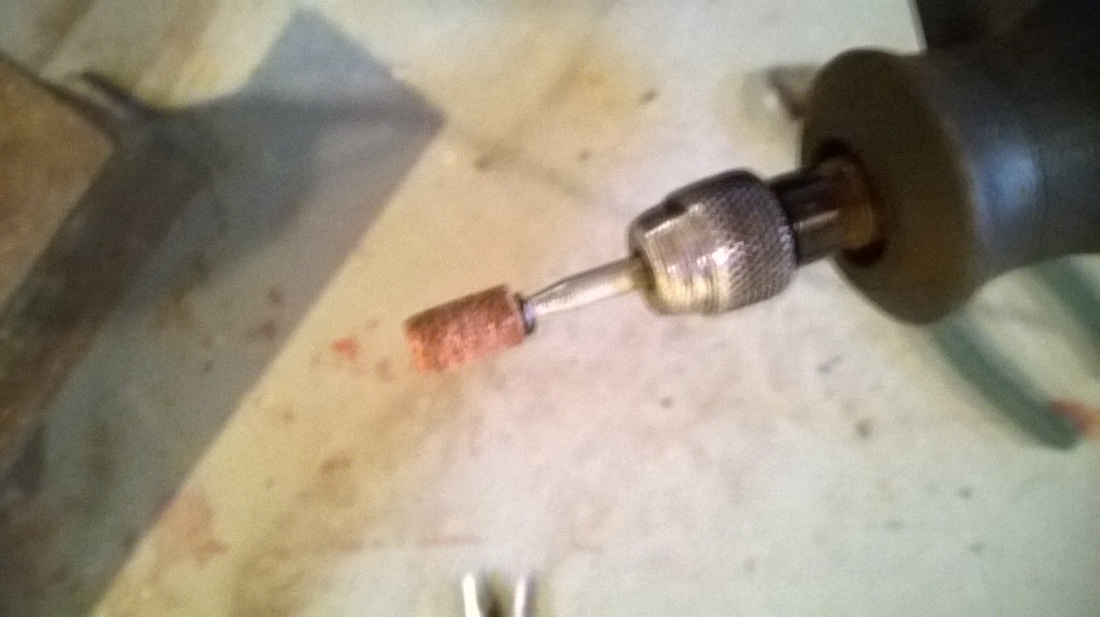
You can leave the side cutters, they won’t get in the way. As a matter of fact, I like using them to cut m rivets better than my dedicated side cutters. However, that’s neither here nor there. What you will need to do is grind down the jaws of the pliers with a dremel grinding bit. The ridges on the pliers will dig into the rings and will also make it difficult to modify for the next step. Obviously, wear protective eye wear, gloves, and ear plugs. Honestly, I probably could have ground mine down a little flatter as remnants of the ridges are still visible, however, they are flat enough for my purposes and so I called it good when I couldn’t feel a discernable ridge any longer. Once the face is ground down, you will need to bore small holes into the pliers. To do this, I used a dremel tool and a diamond tipped bit. |
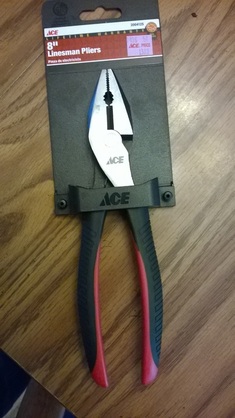
The 8" Linesman pliers.
|
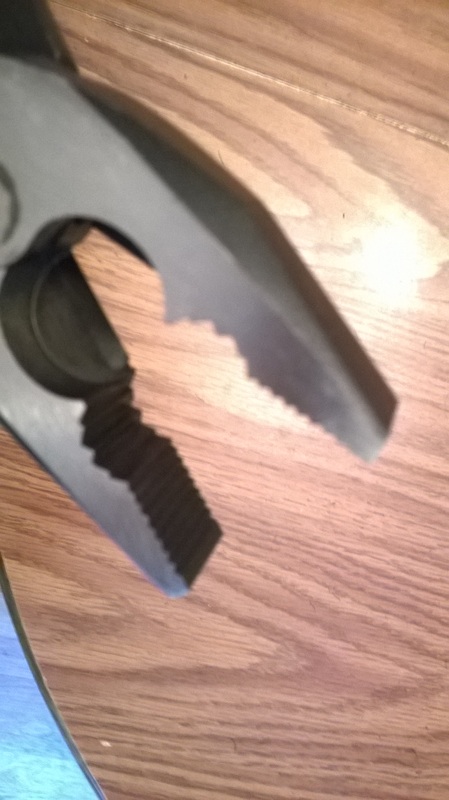
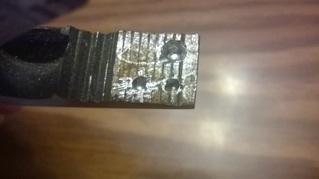 The three indentations in the jaws. The largest indentation needs to allow the rivet to push down into the ring without touching the bottom of the indent in the jaw.
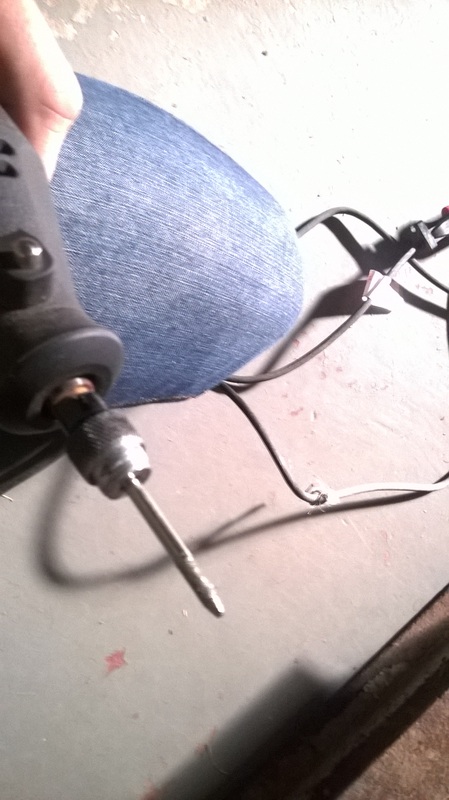
This bit is good for boring into metal and worked quite well. The only thing I would suggest regarding its use is that you need move the bit around the see any substantial results. If you stick it straight down into the jaw, you’ll get a tiny hole. However, if you keep just forcing it straight down, you won’t see much progress beyond that. What you need to do is move the dremel in a circular motion inside of the hole while pressing down. This will help expand the hole by allowing the material at the bottom to escape/dislodge. Just shoving the bit down doesn’t let this happen and makes it difficult to bore the hole.
For the first hole, you will want a larger hole. One large enough to accommodate a punched ring and allow a rivet to push down just below the pierced material. If the hole is too small, you won’t get a proper setting operation and you won’t be able to properly peen the rivet into the ring.
For the first hole, you will want a larger hole. One large enough to accommodate a punched ring and allow a rivet to push down just below the pierced material. If the hole is too small, you won’t get a proper setting operation and you won’t be able to properly peen the rivet into the ring.
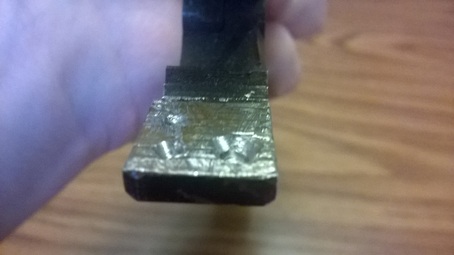 A facing view of the indentations in the jaws.
For the second hole, you will want a smaller hole. This hole should be just wide enough that the punched ring can fit in it, but the hole itself should be relatively shallow. The reason you want a shallow hole is because this will squish the rivet and punched ring together, effectively peening the ring shut and keeping it from re-opening.
Something different that I have done is to bore a third, smaller hole into my pliers. The reason I did this was to get just a little bit of a tighter peen on the rivet. I needed to do a third, smaller hole because the second indentation for peening can’t be too small. If the second hole is too small, you will pop the rivet out before peening. Another issue is that the hole might be too small to receive the rivet properly and you won’t get a nice peen. Therefore, I use the medium hole to peen the rivet and lodge it firmly. Then I use a smaller hole, one that is slightly smaller than the punched material, and I use this to close up the rivet just a little bit better.
Something different that I have done is to bore a third, smaller hole into my pliers. The reason I did this was to get just a little bit of a tighter peen on the rivet. I needed to do a third, smaller hole because the second indentation for peening can’t be too small. If the second hole is too small, you will pop the rivet out before peening. Another issue is that the hole might be too small to receive the rivet properly and you won’t get a nice peen. Therefore, I use the medium hole to peen the rivet and lodge it firmly. Then I use a smaller hole, one that is slightly smaller than the punched material, and I use this to close up the rivet just a little bit better.
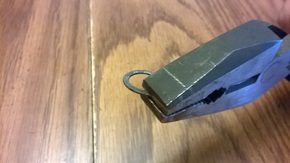 A ring being peened in the pliers.
I have found that this works well. It may be possible that my middle hole is slightly too big and my smallest hole is slightly too small, and I might be able to get a perfect peen with a perfectly sized indentation. However, I think the system I have has been working so I don’t want to mess with it.
With the smaller holes especially, I would be careful not to make a hole too big before testing out how it works. Obviously, you can always increase the size of the indent but can never decrease it.
Although the setting tongs are much simpler to make than a pierce punch, keep in mind that everything is interconnected. A poor punching operation will make it difficult to get a properly set and peened rivet. You might have a great set of setting tongs but a poor punch. Since you are hand making all of these parts, it’s difficult to ensure that all the different tools are working in sync. With this in mind, don’t over do things, especially on the peening indentation until you know that your punch is well shaped.
Other than that, making a pair of setting tongs is pretty easy and shouldn’t give you any problems.
