How to Make Medieval Short Braies
The Garment:
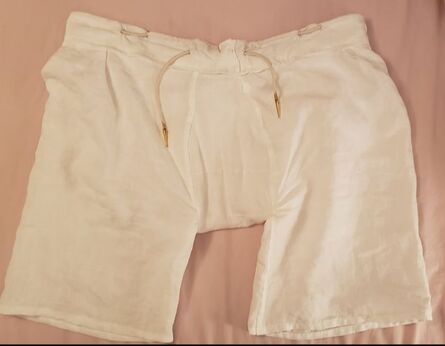
Medieval braies were the undergarment of the middle ages. Men of all classes are consistently shown wearing linen under garments that resemble modern boxer shorts. In the early medieval period, this garment is usually depicted as a long, flowing, billowing garment that could be worn loose, with the ends tied up, or wrapped around the legs. I have already made a tutorial for making long braies after the style in the Morgan Picture Bible HERE.
Medieval braies were the undergarment of the middle ages. Men of all classes are consistently shown wearing linen under garments that resemble modern boxer shorts. In the early medieval period, this garment is usually depicted as a long, flowing, billowing garment that could be worn loose, with the ends tied up, or wrapped around the legs. I have already made a tutorial for making long braies after the style in the Morgan Picture Bible HERE.
This garment is meant for later period braies when the hose start to move up the leg and point to a doublet. The artwork of this time starts to depict closer fitting braies with shorter legs. This makes sense because the hose were more closely tailored and the extra length of the hose meant that it would be harder to stuff the excess fabric of the braies into the hose.
Therefore, if you are making later period split hose or joined hose, this tutorial will help you to make braies that accommodate your needs.
Therefore, if you are making later period split hose or joined hose, this tutorial will help you to make braies that accommodate your needs.
|
|
|
The Pattern:
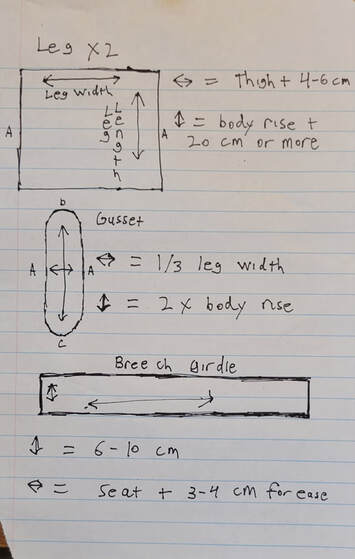
The pattern is simple and uses two rectangles of fabric for the legs, a long, lozenge shape for the crotch and buttock, and a very wide rectangle for the breech girdle.
Take the following measurements:
Seat measurement,
Thigh measurement plus 4-6 cm for ease,
and body rise. To take the body rise measurement, sit down and measure from you’re the chair to your waist. Add about 20 cm or more depending on your leg length.
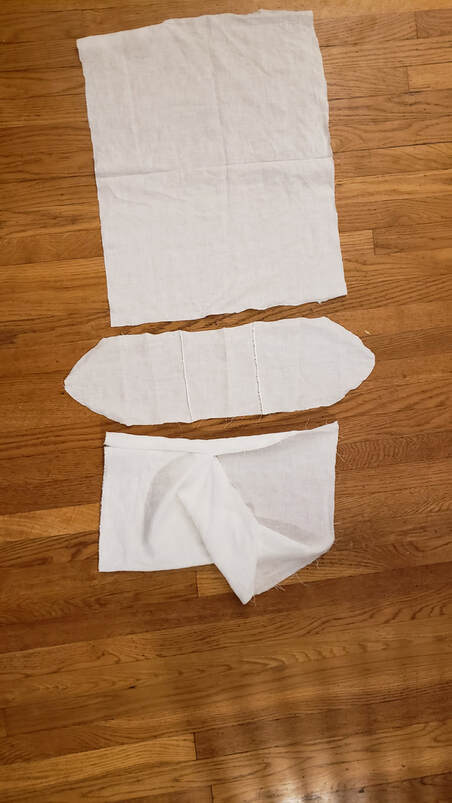 One leg piece unfolded. The gusset in the middle. One leg piece sewn halfway up the leg. The remaining unsewn portion will be sewn into the gusset.
To calculate the leg pieces: cut two rectangles of fabric based on Thigh plus 4-6 cm and body rise plus 20 cm or more.
To calculate the gusset size: measure a lozenge shaped piece that is 1/3 of the leg width wide and 2x the body rise plus 4-6 cm long. It is 2x body rise because it will be the front and back of the braies. Add 4-6 cm to the measurement and if it ends up to long you can trim it down but this should help accommodate the inseam.
To calculate the breech girdle: Wait to cut this piece out until the rest of the piece is assembled. It will be 6-10 cm tall and then folded in half when attached. It will be your seat measurement plus 3-4 cm for ease.
The amount of fabric you use will depend on how long you want the legs to be and how wide you want them to be. Linen doesn’t have much give, so err on giving extra ease. You can always reduce after pinning things together and trying for fit.
|
|
|
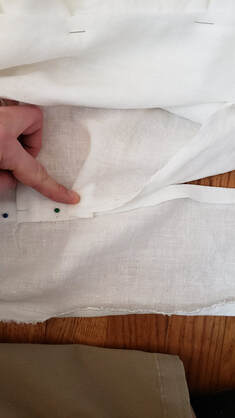
 One of the legs pinned to the gusset.
Making Up:
To make up, fold the legs over and sew up about half way. Make sure you can pull them onto your legs up to the inseam with ease. For the leg, I cut about 55 cm long and then used half of that for the leg to the inseam and the other half was left open and attached to the center crotch gusset.
Next, pin the legs to the crotch gusset. Start pinning the leg seam to the middle of the gusset and work outward. You are making a front and back leg at this point. As you finish pinning, you may have more gusset than leg, this is fine. If the leg is evenly attached, try to pull the braies up and see how they fit. They will not rise far enough at this point, which is ok, just make sure they pull up your body.
The circumference of the gusset and the legs should at least match your seat measurement. If it doesn’t, you will have issues pulling them over your leg.
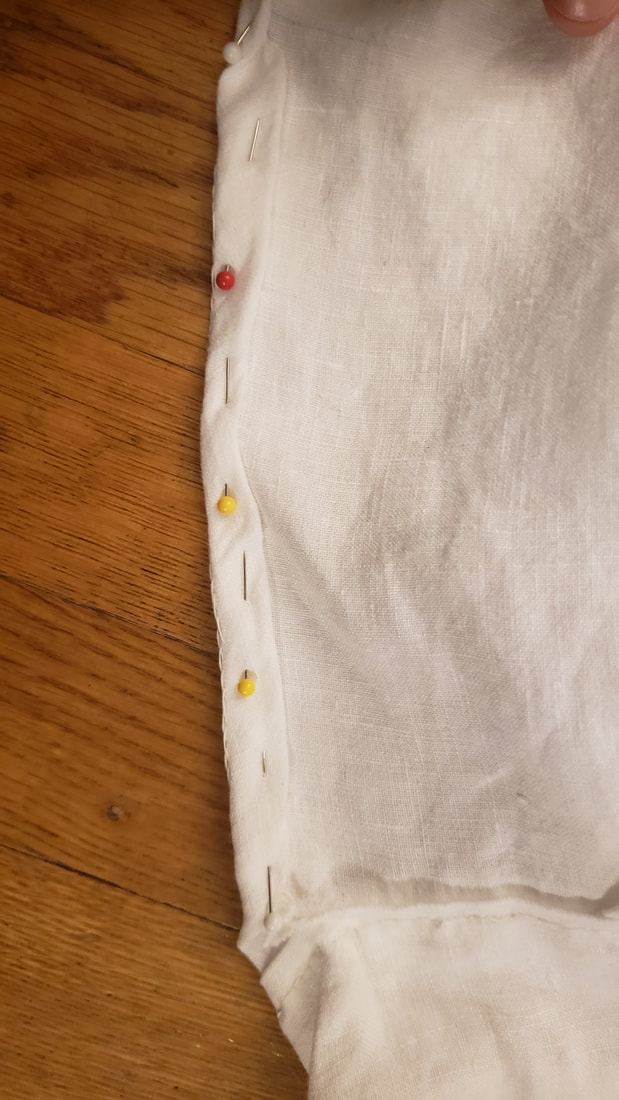
 Adding pleats to the body so the breech girdle and body have the same width.
Next, cut out the breech girdle. I made mine to accommodate my seat measurement with about 4 cm of ease. My breech girdle is about 10 cm tall and 5 cm tall when folded over.
I pinned it to the legs and gusset and added a few pleats to make sure that the longer legs and gusset portion matched the smaller dimension of the breech girdle.
Also notice h0w the breech girdle ends are folded over when pinned in place to create clean seams.
I added the lacing to the breech girdle before sewing it closed. I also placed six eyelets on the breech girdle. Two in the front as you would expect for the lacing to come out and then two on each side which allows for point hose directly to the breech girdle. I have not used these braies for pointing hose, but I wanted the flexibility to do so. You can also attach a linen purse to the braies through the loops, which is often seen for carrying special items of value.
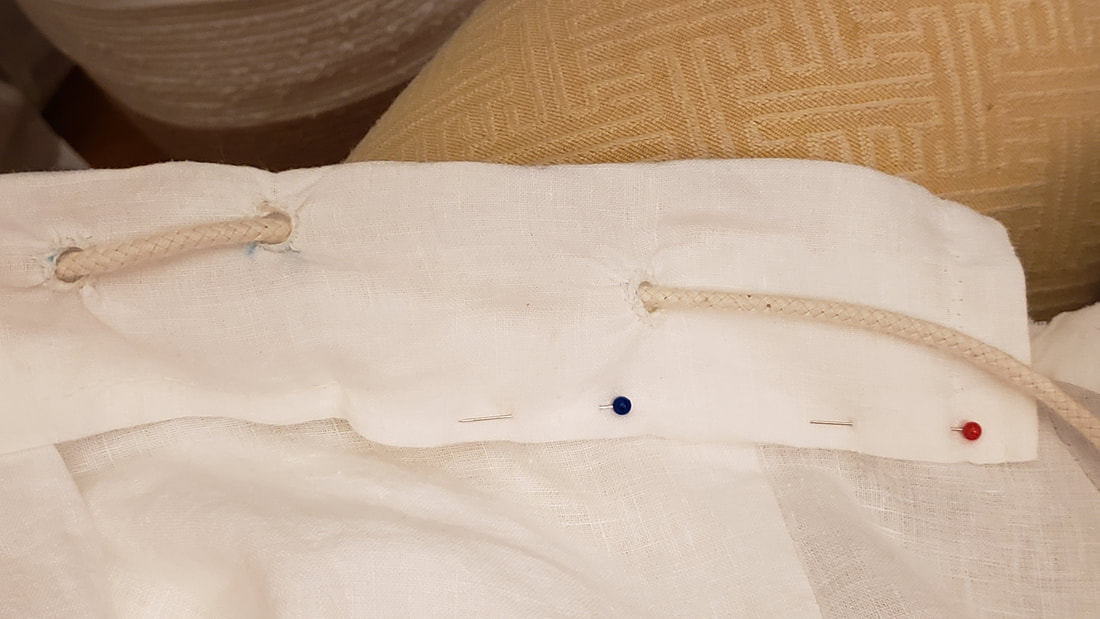
The lacing is put in place before pinning and sewing the breech girdle into place.
|
This shows how the lacing crosses the front and comes out the opposite eyelet for tying.
|
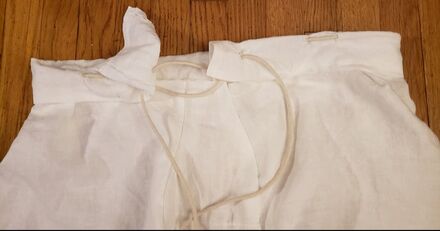
I finished my lacing with bolo ties for the aglets which worked very well. I also dipped the ends of the cord into melted wax to keep them from fraying.
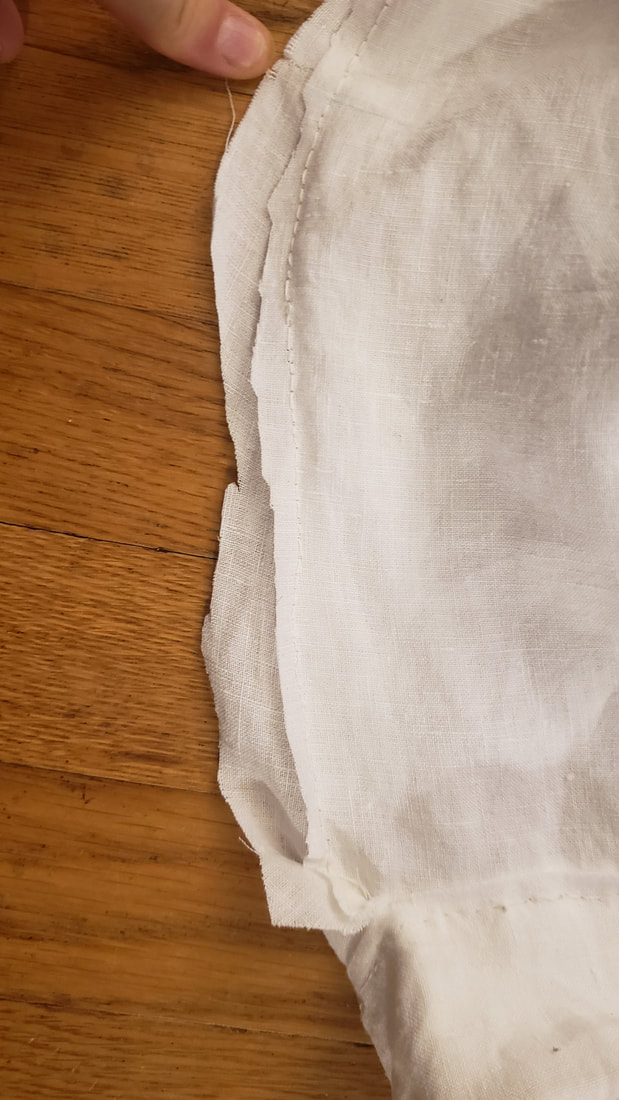
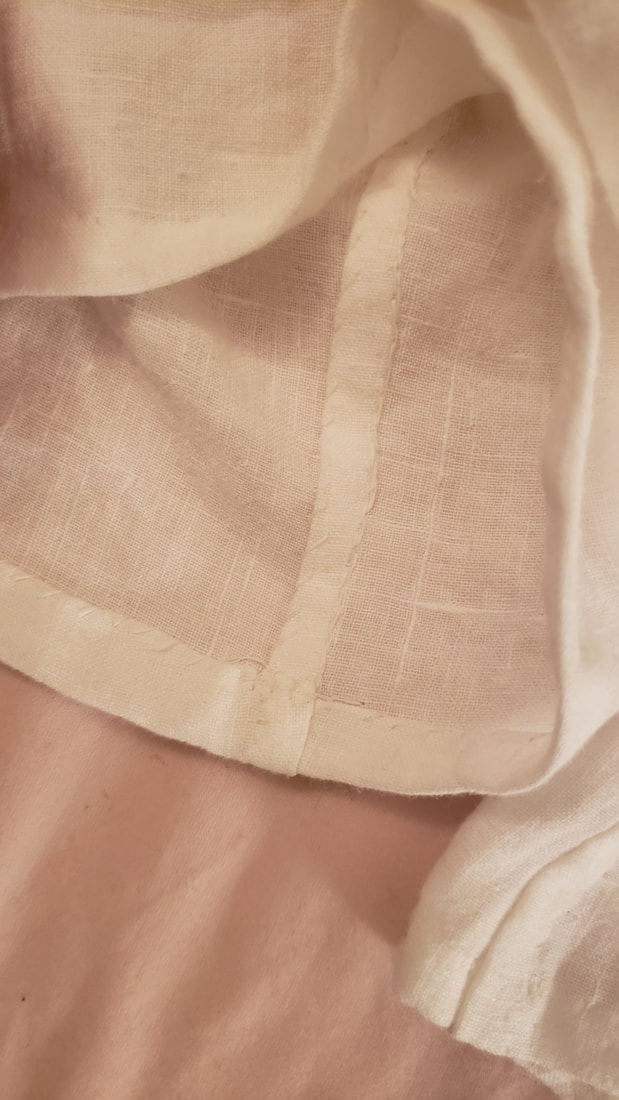
On a garment like this, I would highly recommend finishing the seams on the inside. I did a fell seam where you trim one side of the seam allowance down and then fold and hem the longer side down. This effectively encases the seam and prevents tearing, fraying, and extra wear on the seams. Hem the legs, and you should be done.
On a garment like this, I would highly recommend finishing the seams on the inside. I did a fell seam where you trim one side of the seam allowance down and then fold and hem the longer side down. This effectively encases the seam and prevents tearing, fraying, and extra wear on the seams. Hem the legs, and you should be done.
Concluding Impressions:
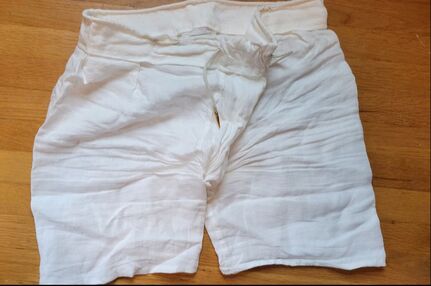
I found it slightly difficult to make the tighter fitting braies because linen is a bit unforgiving. The long braies were much easier to make because they have so much ease and give. These required a little more thought and planning. However, once I got the measurements locked in, it came together easily. I was happy with the fit and I’m glad I took some extra time to finish the seams. I’m also glad that I used lacing for the girdle instead of making it out of the linen fabric. It ties easier and looks nicer.
I found it slightly difficult to make the tighter fitting braies because linen is a bit unforgiving. The long braies were much easier to make because they have so much ease and give. These required a little more thought and planning. However, once I got the measurements locked in, it came together easily. I was happy with the fit and I’m glad I took some extra time to finish the seams. I’m also glad that I used lacing for the girdle instead of making it out of the linen fabric. It ties easier and looks nicer.
|
|
|
